Projects

HTML, CSS and JavaScript: 7 Essential, Safe First Steps
In this guide: HTML, CSS and JavaScript explained simply: how browsers build pages, what each language does, real examples of each, and where to start learning.
Web pages commonly use three core browser technologies: HTML, CSS, and JavaScript. Even if you use WordPress or a website builder, understanding what each one does helps you customize your site, communicate with developers, and fix small problems yourself.
Think of a website as a house:
When you visit a page, your browser:
This is why too much CSS or JavaScript can slow a page down — the browser has more work to do before showing content. Learn more in Core Web Vitals Explained.
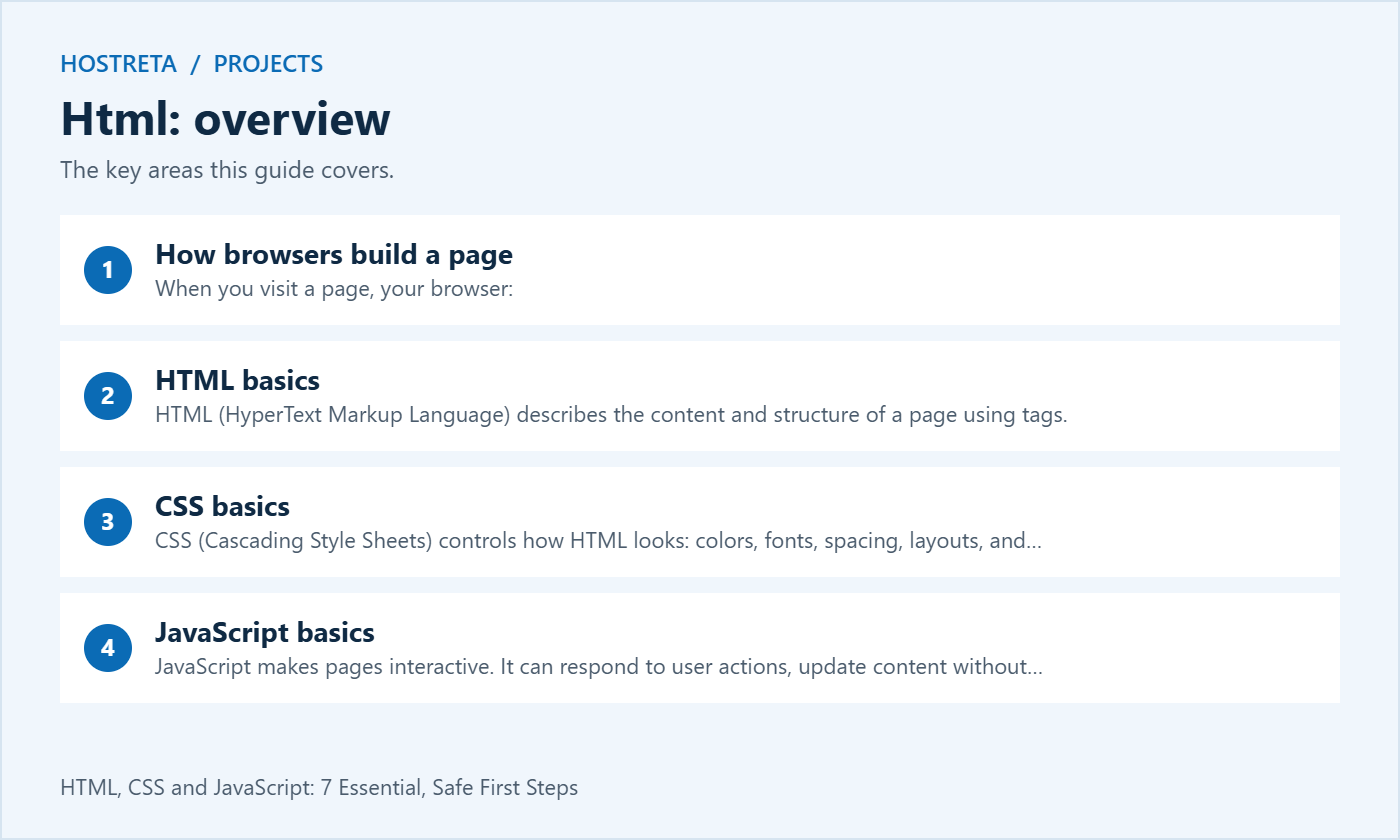
HTML (HyperText Markup Language) describes the content and structure of a page using tags.
<h1>Welcome to My Website</h1>
<p>We build fast, secure websites.</p>
<a href="/contact/">Contact us</a>
<img src="team.jpg" alt="Our team at work">
Key things to know:
<h1> to <h6>) create structure. Use one <h1> per page for the main title.<p>), links (<a>), images (<img>), and lists (<ul>, <ol>) are the basics.<header>, <nav>, <main>, <article>, and <footer> describe meaning, which helps accessibility and SEO.CSS (Cascading Style Sheets) controls how HTML looks: colors, fonts, spacing, layouts, and responsiveness.
h1 {
  color: #0B0F14;
  font-size: 2.5rem;
}
.button {
  background: #F5B83D;
  padding: 12px 24px;
  border-radius: 8px;
}
Key concepts:
h1), classes (.button), or IDs (#header).In WordPress, you can add small CSS tweaks in Appearance → Customize → Additional CSS (classic themes) or in the Site Editor’s styles (block themes). For bigger changes, use a child theme.
JavaScript makes pages interactive. It can respond to user actions, update content without reloading, validate forms, and communicate with servers.
document.querySelector('.button').addEventListener('click', () => {
  alert('Thanks for clicking!');
});
What JavaScript powers:
JavaScript is powerful, but heavy scripts are a major cause of slow websites. Load only what you need and defer non-essential scripts. See speed terms explained.
A practical learning path:
Free resources: MDN Web Docs, freeCodeCamp, and many quality YouTube tutorials. Use your browser’s DevTools (right-click → Inspect) to see how any website is built.
Our Web Developer Roadmap for 2026 outlines what to learn next.
Further reading: MDN Web Docs learning area
Developer workflows need SSH, Git, WP-CLI, and room to run tools. A Kawedma VPS server or cloud hosting gives full control, as do an unmanaged VPS or managed VPS from Hosting.com. For client sites with staging built in, managed WordPress hosting powered by Rocket.net and Kawedma WordPress hosting are good choices, and agencies can use Kawedma reseller hosting.
Start with the information a visitor needs. Write a clear title, introduction and next action, then choose elements that represent those parts. A heading is a heading because it introduces a section, not because you want large text. You can change appearance with CSS after the structure is understandable.
Use native links for navigation and buttons for actions. A visually styled paragraph with a click handler does not automatically gain the keyboard behaviour or semantics of a button. Choosing an appropriate HTML element often gives you a stronger starting point with less custom code to maintain.
Test the content without decorative styling. The result does not need to look polished, but it should remain readable and logically ordered. If the meaning depends entirely on colours or visual position, revise the content and structure. This is a useful exercise even when a site builder produces the final markup.
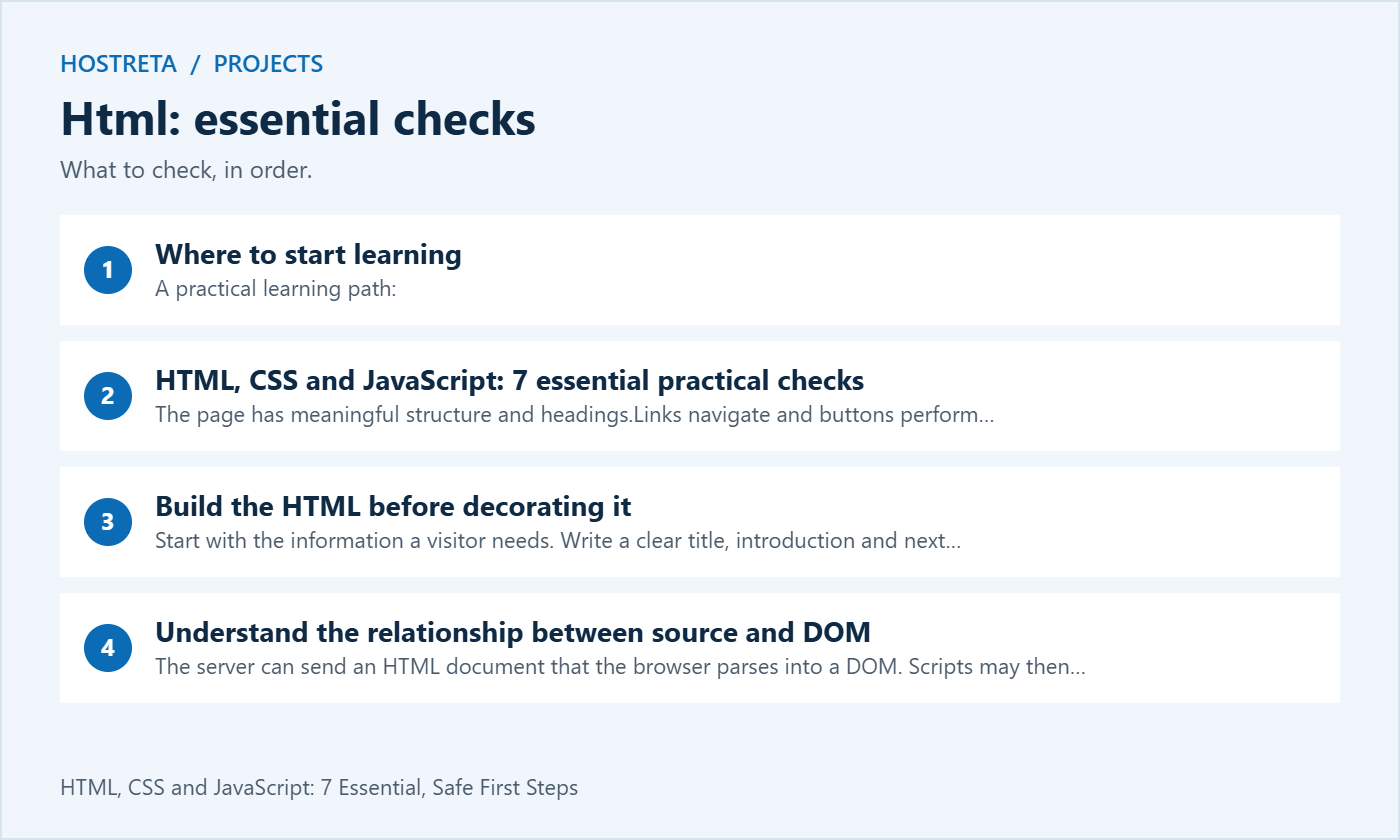
The server can send an HTML document that the browser parses into a DOM. Scripts may then add, remove or update elements. The live Elements view can therefore differ from the initial source. This distinction helps when investigating why an item appears only after a script runs or why a selector does not match.
Inspect the actual element and its context before changing code. Check whether there are repeated classes, unexpected nesting or content created by a plugin. Avoid copying a selector from an unrelated page and assuming it identifies the same component everywhere. A small inspection step can prevent a broad style change from affecting the wrong section.
Browser rendering also involves more than the simplified sequence above. Resources can load in parallel, and scripts or styles can influence when content is displayed. Treat the overview as an introduction rather than an exact performance model. Use measured browser evidence when diagnosing a real loading problem.
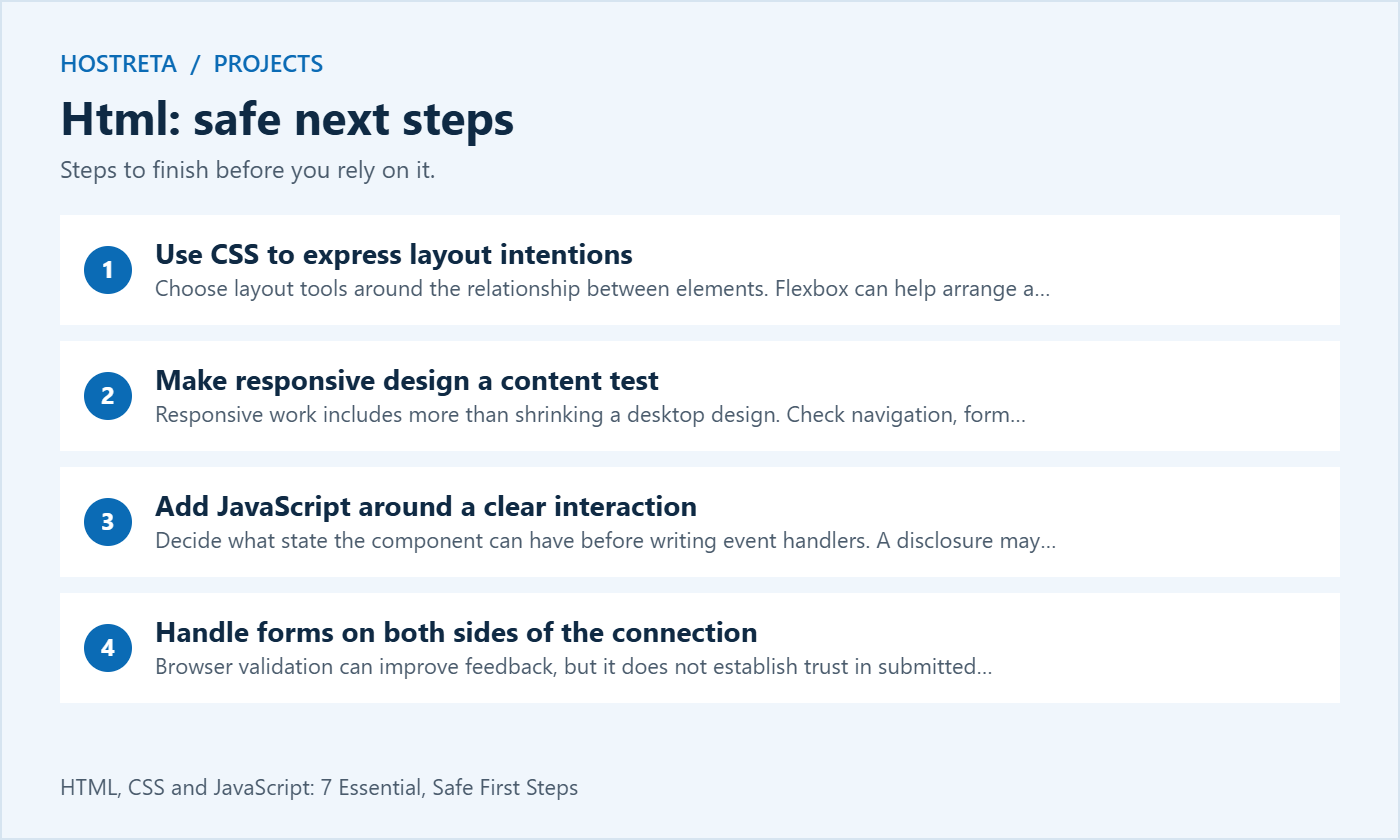
Choose layout tools around the relationship between elements. Flexbox can help arrange a row or column of items, while Grid can express rows and columns together. Neither is a requirement for every component. Keep the solution understandable and test what happens when an item contains more text than you expected.
Prefer flexible sizes where the design allows them. A fixed height can clip translated text or larger user font settings. Test long headings, empty states and narrow screens. The HTML content should not need to be shortened artificially just to make one screenshot look neat.
When a style does not apply, inspect the computed result and the competing rules. The cascade is more reliable to understand than repeatedly adding stronger selectors or important declarations. Document a necessary exception so future maintainers know why it exists. Broad overrides can make later changes unexpectedly expensive.
Responsive work includes more than shrinking a desktop design. Check navigation, form controls, tables and media at widths where the content becomes difficult to use. Choose breakpoints because the layout needs them, rather than because a particular device name appears in a tutorial.
Increase the text size and test with a long label. A user may have a different font, language or zoom setting from yours. Keep important controls reachable and avoid hiding essential information just to simplify a narrow view. Readable HTML and flexible layout rules support a wider range of conditions.
Use a real phone for representative checks when possible, alongside browser tools. Test tapping, scrolling and the on-screen keyboard on forms. A layout can look acceptable in a static preview while an overlay prevents interaction. Record the actual issue and verify the same journey after the correction.
Decide what state the component can have before writing event handlers. A disclosure may be open or closed; a search may be loading, successful, empty or failed. Make each state understandable and keep the interface consistent with it. This is easier to maintain than adding isolated click handlers without a model of the behaviour.
Check that an element exists before using it on pages where it may be absent. If a shared script runs across a site, an optional component should not produce an uncaught error everywhere else. Load the code at an appropriate time and follow the framework or platform’s supported asset-loading process.
For a small learning project, begin with a native HTML control and enhance it. If the action can work as ordinary navigation, keep a real link. If a script provides a convenience, consider what happens when it fails. Progressive enhancement is a practical way to keep essential content usable while adding richer behaviour.
Browser validation can improve feedback, but it does not establish trust in submitted data. A user or automated client can send a request without using your interface. Validate and authorise on the server as required by the application. Keep that responsibility separate from the visual form experience.
Associate labels with inputs and explain errors near the relevant fields. Do not rely only on a red border or placeholder. Preserve useful entered information after an error where appropriate, and show a clear completion result. The HTML structure and the application logic should work together rather than treating accessibility as a later patch.
Test the downstream effect as well as the button. If a form is meant to create an enquiry, confirm the record or notification exists. A thank-you screen can appear even when a later integration fails. Use controlled test data and avoid exposing a real customer’s information in screenshots or public repositories.
If content is missing, inspect whether it exists in the DOM. If it exists but looks wrong, inspect layout and computed styles. If an action fails, check the console and related network request. Separating these questions helps you identify whether the issue concerns HTML, CSS, JavaScript or a server response.
Change one relevant variable and repeat the same test. A temporary edit in DevTools is useful for exploring a hypothesis, but it does not automatically save the fix in your theme or application. Apply the confirmed change in the proper source location and verify it after a fresh page load.
Keep a short note describing the symptom, cause and correction. This builds a useful debugging habit and makes your work easier to review. Do not hide a console error simply to produce a clean screenshot. Understand whether it affects the user journey and address or document it appropriately.
WordPress produces HTML from themes, blocks, templates and plugin output. The best place for a change depends on which component owns the behaviour. Use supported theme settings or a child theme where appropriate, and avoid editing core files. A quick change in the wrong place may disappear during an update.
For scripts and styles, use the platform’s supported loading mechanisms rather than pasting duplicate code into several pages. Test the effect on pages with and without the component. Keep the scope narrow so an improvement to one form does not alter every button across the site.
If you need implementation help, KAWEDMA offers website development and WordPress-related services worth reviewing. Provide the actual page, desired behaviour and test cases when requesting a quote. Confirm the scope and maintenance arrangements rather than assuming a visual change includes every integration or performance improvement.
The MDN Curriculum provides a structured reference for foundational browser skills. Use it alongside a project with a clear outcome. Read the documentation for the element or API you are using, then make a small change and explain why it works.
A useful beginner project is a service page with a labelled enquiry form, responsive cards and a simple disclosure component. Start with semantic HTML, add the layout and then implement the interaction. Keep the form’s server processing separate from the visual demonstration unless you are ready to build and test that part too.
Judge the result by usability and understanding. Can another person navigate it with a keyboard? Does the content remain readable when enlarged? Can you explain the error state? These are stronger learning milestones than completing a fixed number of tutorial hours or copying a sophisticated animation.
HTML is a markup language used to describe document structure and meaning. JavaScript provides programming behaviour in the browser. The distinction helps explain their roles, but it does not make structural work less important. A complex application still depends on clear content and appropriate controls.
Yes, many informational pages can work with HTML and CSS alone. Add scripts when they provide a useful behaviour and maintain essential access to content. A framework is not required for every page. Choose the simplest maintainable approach that meets the actual project requirements.
Its assumptions may not match your markup, load timing, dependencies or platform. Read the error and inspect the relevant element before adding more code. Try a small isolated example and compare it with the original context. Do not paste unreviewed snippets into a live business site to see what happens.
Use a local project or a separate staging page with harmless sample content. Keep a copy of the starting files and change one small feature at a time. Explain the intended result before writing the code, then compare the actual behaviour with that expectation. This makes the exercise about understanding rather than trial and error on a business website.
It should have a clear document structure, meaningful controls and a usable reading order. Add styling and interaction only where they help the task. Test with a keyboard and enlarged text, then document one issue you found and corrected. A small complete example is easier to review and maintain than a large collection of copied snippets.
Keep the source organised so another learner can open the page and understand where the markup, styles and scripts belong. Include short setup instructions and note any external dependency. Review the project after a few days and try to make one improvement without replaying the tutorial. That independent change is useful evidence that the concepts are becoming familiar.
When asking for help, share a minimal example with the relevant HTML, the expected behaviour and the error you observed. Remove private information and credentials before posting it. State which browser or platform you tested and whether the issue occurs after a fresh load. A focused example helps another developer identify the cause and helps you distinguish an HTML structure issue from styling or application logic.
We may earn a commission on purchases made through these links, at no extra cost to you.
Don’t miss the chance to participate in the biggest giveaway of this year.