HowTo

WordPress Email Sender Name: 2 Easy Ways to Change It
Changing the WordPress email sender name helps customers recognise your business. When WordPress sends an email — a contact form notification, a password reset, or a new user welcome — it arrives from “WordPress” at wordpress@yourdomain.com by default. To customers, that looks generic at best and suspicious at worst. Changing the WordPress email sender name and address takes a few minutes and makes every message look like it really comes from your business.
This guide explains why the default sender hurts trust, how to change it with a plugin or a code snippet, how to match it to your email authentication, and how to test the result.
wordpress@ often bounce or go nowhere.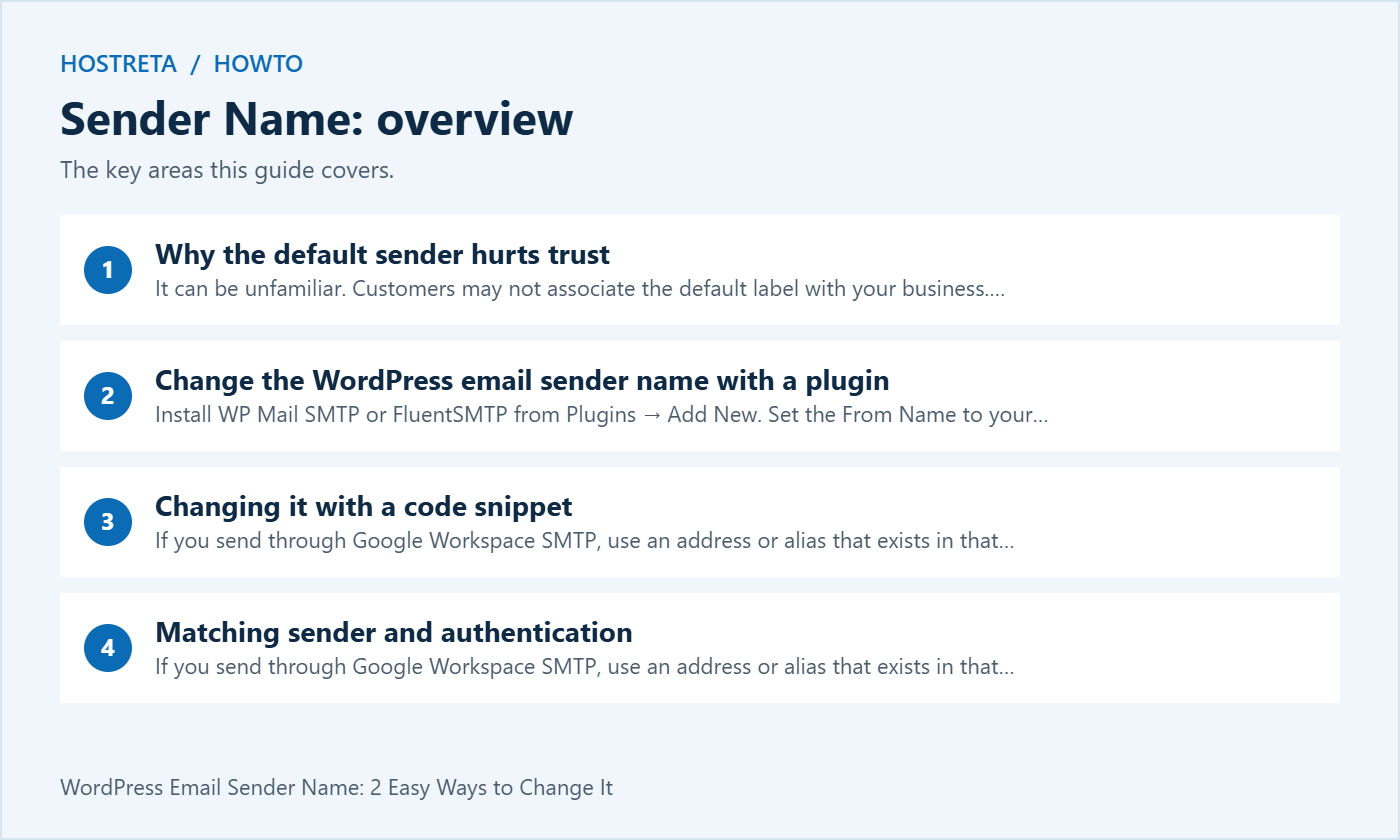
An SMTP plugin lets you set a sender and configure an authenticated sending service. It can help address delivery problems, but inbox placement is not guaranteed:
hello@yourdomain.com.Full SMTP setup is covered in How to Set Up SMTP in WordPress So Emails Arrive.
If you only want to change the name and address, add this to a code snippets plugin or your child theme’s functions.php:
add_filter( 'wp_mail_from', function() {
    return 'hello@yourdomain.com';
} );
add_filter( 'wp_mail_from_name', function() {
    return 'Your Business Name';
} );
This changes the sender, but it doesn’t improve delivery on its own. Use a snippets plugin rather than editing a parent theme, or the change disappears on the next theme update — see How to Use a Child Theme in WordPress.
The sender address should match the account that actually sends the email:
An unauthorised or misaligned sender can cause authentication failures. SPF checks the envelope sender, while DMARC checks alignment with the visible From domain through SPF or DKIM. The DNS side is explained in Email Deliverability: SPF, DKIM and DMARC in Plain English.
A fast, well-supported host makes every WordPress task smoother. Kawedma WordPress hosting and managed WordPress hosting powered by Rocket.net include staging sites for safe testing, while shared hosting from Hosting.com or Kawedma shared hosting suit smaller sites. Protect the site with an SSL certificate and automatic backups from CodeGuard.
These settings solve different problems. The WordPress email sender name is the readable label shown beside the sending address. The From address identifies the sender. Reply-To tells the recipient’s mail application where a reply should go. The site administration email is used for administrative notices; changing it does not automatically update every plugin’s outgoing sender.
For a contact form, use your verified business address as From and the visitor’s address as Reply-To. Putting the visitor’s Gmail address in From can make your website appear to send on behalf of a domain it does not control. Check the form plugin’s own notification settings rather than assuming the global change covers every field.
| Need | Method | Important limit |
|---|---|---|
| One consistent sender and authenticated transport | Configure an SMTP or mail service plugin | The provider must allow the chosen From address |
| Change the default sender label only | Use the wp_mail_from_name filter | It does not configure authentication |
| Change the default From address | Use the wp_mail_from filter | It does not create a mailbox |
| Send replies to a form visitor | Set Reply-To in the form notification | Keep From on a domain you are authorised to use |
WordPress documents the wp_mail_from filter and wp_mail_from_name filter. These are defaults within the WordPress mail workflow, not a guarantee that every third-party mail integration uses them. A plugin that sends through its own API may have separate settings.
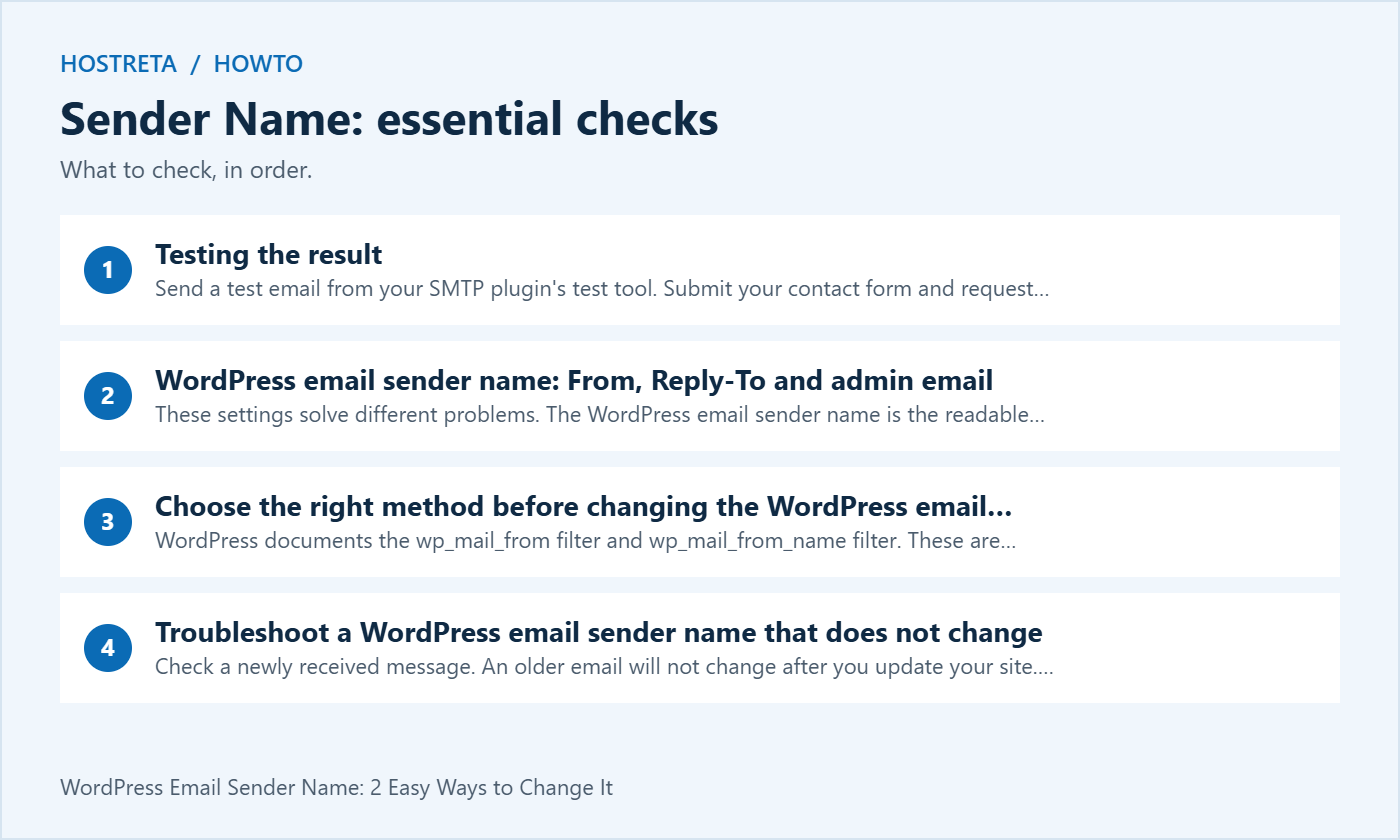
If one recipient still sees an old label, compare the raw message header with the label in their contacts. A saved address-book name can affect what that recipient sees. Changing the WordPress email sender name cannot edit somebody else’s contact list.
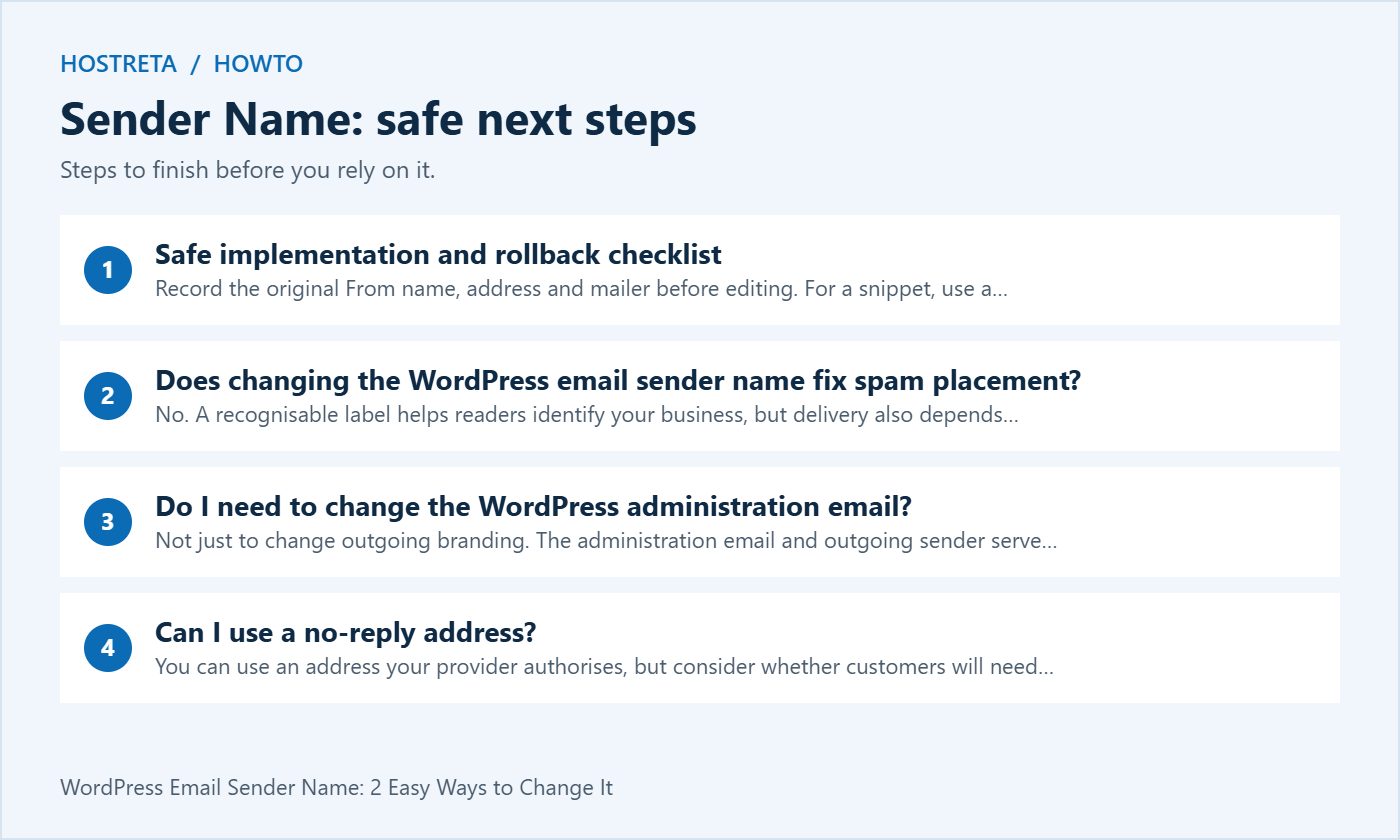
Record the original From name, address and mailer before editing. For a snippet, use a tested snippets plugin or a child theme and keep a recovery route through your hosting file manager. A PHP syntax error can interrupt the site, so try the change on staging first and avoid pasting a second opening PHP tag into an existing PHP file.
The example addresses in this tutorial are placeholders. Replace them with an address your provider authorises. Do not put SMTP passwords, API keys or other credentials in an article, public code example or screenshot. Use the mail plugin’s supported credential configuration.
After changing the WordPress email sender name, test the workflows that matter to your business: a contact form, a password reset for a test account and, if you run a store, a test order notification. A mail plugin’s test proves its own sending route works; it does not prove every business notification has the correct settings.
If a test fails, restore the previous sender configuration and investigate the mail log or provider response. Do not repeatedly send password resets to real customers or disable authentication checks to make a test pass.
No. A recognisable label helps readers identify your business, but delivery also depends on authentication, sending reputation, message content and provider policies. Test the visible sender and authentication separately.
Not just to change outgoing branding. The administration email and outgoing sender serve different purposes. Keep administrative notices directed to a monitored account, and configure outgoing mail where your sending integration expects it.
You can use an address your provider authorises, but consider whether customers will need to reply. If replies should reach support, use a monitored sender or an appropriate Reply-To address and test the reply path before deploying the change.
A change placed directly in a parent theme can be overwritten during an update. A child theme or a suitable snippets plugin avoids relying on an edited parent file. Keep a note of where you configured the WordPress email sender name so future maintainers can find it.
Use the business or product identity that recipients already know from your website and purchase confirmation. A useful sender name can be as simple as “Example Store Support.” Avoid adding promotional claims, repeated punctuation or a different employee’s name to every automated message. Consistency makes it easier for a customer to recognise a genuine notification in a busy inbox.
For a small team, decide whether support, billing and account notifications should share one sender name or use clear department labels. Keep each label connected to the same recognisable brand. A customer should not need to open the message to work out which business sent it. Document the chosen spelling so a later plugin setup does not introduce a second variation.
If you need a business mailbox on your own domain, KAWEDMA offers business email and Google Workspace options worth comparing. Check the selected service’s authorised sender rules, mailbox features and WordPress integration requirements. Buying a mailbox does not automatically configure your website’s sending connection, and a branded sender name does not guarantee inbox placement.
Create a short test record before making a site-wide change. Include the workflow, expected sender name, From address, Reply-To address and result. This helps distinguish a branding mistake from a transport failure. Use a test recipient you control and record only the information needed to troubleshoot; customer messages and reset tokens do not belong in a shared checklist.
| Workflow | Expected identity | What to verify |
|---|---|---|
| Contact form notification | Business sender with visitor Reply-To | A reply reaches the intended test visitor |
| Password reset | Recognisable site or account support label | Fresh message arrives and the test link works |
| Store order confirmation | Store sender name and authorised address | Customer and administrator messages are correct |
| Plugin test message | Configured default identity | Transport works independently of business workflows |
Test more than one mail application where practical. A desktop inbox, mobile notification and webmail message view can display the sender name differently. A narrow screen may truncate a long label. Prefer a short recognisable identity and put detailed department information in the message body or signature rather than making the visible label difficult to scan.
When the sender name appears wrong, inspect the raw From header of a newly received test message. Compare it with the text displayed in the inbox. If the header is correct but one recipient sees another label, their contacts or mail application’s presentation may explain the difference. Changing several WordPress settings will not repair a label supplied by that recipient’s address book.
If the header itself contains the old sender name, identify the workflow that produced it. Was it the SMTP plugin’s test tool, a contact form, a store notification or a separate newsletter integration? Each result narrows the investigation. A single plugin may use its own template or API, while ordinary WordPress messages follow the default mail workflow.
Record one change at a time, send one controlled test and compare the result. Keep the subject line distinctive so you do not inspect yesterday’s message by mistake. Repeatedly sending identical messages makes it harder to establish which configuration produced which result. Save the successful test details before moving to the next notification type.
A correct sender name answers a branding question: who does this message appear to come from? Authentication answers a different question about whether the sending infrastructure is authorised for the relevant domain. Delivery evidence adds another layer: whether the service accepted the message and whether the recipient actually received it.
A successful WordPress mail function call does not prove inbox delivery. Provider logs may show acceptance, deferral or rejection; the receiving inbox may still apply filtering. Use the official wp_mail documentation when interpreting what the function reports. Keep the original provider error text available privately for troubleshooting, without exposing credentials or personal message content.
Do not respond to a delivery problem by inventing another From address. Confirm the authorised identity in the sending service first, then check its recommended authentication setup. Keep the sender name stable during these tests so you can focus on the variable that changed. If a provider rewrites the From field, investigate its account policy rather than adding competing overrides.
A forced sender name can be useful for a single-brand website. It can also hide intentional distinctions between departments or store notifications. Before enabling it, list the plugins that send mail and decide whether they should all use the same label. This is especially useful on a site maintained by several people, where one administrator may not know every notification workflow.
If a plugin requires a specific verified identity, follow that integration’s supported configuration. Do not assume a global snippet takes precedence over every mailer. The best location for a sender name setting is the one the active sending integration documents and the team can maintain. Keeping duplicate overrides adds uncertainty without creating extra delivery reliability.
After a plugin or theme update, rerun a small representative set of tests. You do not need to email every user to verify the sender name. A contact-form test, a test-account reset and an appropriate store test can reveal whether the important paths still behave as expected. Store the results with your maintenance notes.
Write down where the sender name is configured: the mail plugin, an individual notification template or a named code snippet. Include the intended From and Reply-To addresses and who monitors replies. Avoid storing passwords in that document. The purpose is to make ownership clear, so a future administrator can safely update branding or replace a sending provider.
Keep the previous working configuration available before a change. If an override breaks a notification, restore it and repeat the same controlled test. Disable only the customisation involved, rather than switching off unrelated security or authentication features. If a PHP edit makes the site unavailable, use the prepared hosting recovery route to restore the file.
Finally, verify the reply journey as well as the sender name. A recognisable message that sends customer replies to an abandoned mailbox still creates a poor experience. Make responsibility explicit, check that replies arrive at the intended team and revisit the setup when your business changes domains, departments or email providers.
Record the expected sender name, the setting location, the test date and the notification types you checked. Include the responsible team and the route used for replies. A brief note gives the next maintainer enough context to repeat your checks without guessing. Review it when you change the mail service, rebrand the site or replace a form plugin, since those changes can introduce a different sending path.
We may earn a commission on purchases made through these links, at no extra cost to you.
Don’t miss the chance to participate in the biggest giveaway of this year.